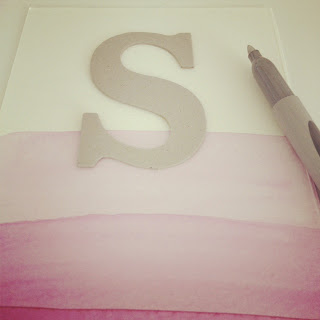
But what is small, durable, and easy to transport??
I decided to provide a custom thank you note for each girl, hoping the fact that they are hand-made would convey a little extra gratitude. I attached a $2 bill to the back of each card, instructing the girls to enjoy a cup of coffee on the way home - obviously they'd need it!
You'll Need:
- Paper cards and envelopes made for watercolor work (easy to find on Amazon or an art store).
- 2 watercolor paints - one color of your choice and one white. A tiny tube would suffice for a project of this size. I used purple (the bride's wedding color).
- Medium watercolor paintbrush
- Letter stencils. I found mine at Big Lots for $2.00 (odd, I know). Also easy to find on Amazon or craft stores.
- Metallic sharpie marker. I used silver.
Mix the watercolor paint according to instructions. Use a mix of white and color for a lighter effect. Place the card on a safe surface and paint the desired amount of card surface with your paintbrush. Allow it to dry. If desired, you can paint a tye-dyed or striped effect by adding more of the colored paint to your paint bowl for a more intense color. Use the darker color over the lighter.
Once the card is painted as you'd like, use your stencils to put initials or wording on the cards. This is where the metallic sharpie comes in. I used a silver color.
I used the initials of each of the girls attending the party.
3. From here, you can customize as you'd like. I think they look pretty cute with just the letters, but you can write personal notes, fill in the letters with another color, etc. Get creative!


No comments:
Post a Comment